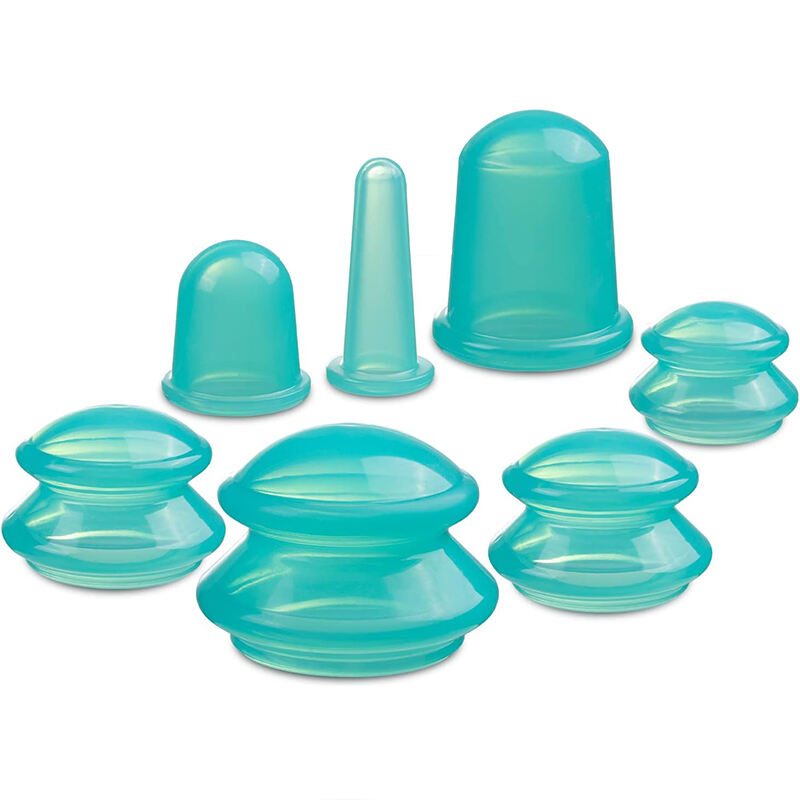
Making custom silicone prototypes isn t just about pouring rubber into a mold; it s a thoughtful sequence of steps that keeps everything on track and on budget. This guide breaks down each phase-guiding you from the first sketch to the ready-for-market sample-and underscores why tight tolerances, the right compound, and modern tooling matter.
What Are Silicone Prototypes?
Think of a silicone prototype as the dress rehearsal for a new product. Teams in automotive, healthcare, or everyday gadgets use them to feel a design before buying thousands of parts. The material shines because it won t warp in heat, shrugs off spills, and can imitate the look and touch of steel, foam, or glass. Knowing these traits can save time and money-and help an idea move from boardroom talk to hands-on testing.
Step 1: Concept and Design
Every custom silicone prototype starts with a solid idea, so the first step is concept and design. Spend time brainstorming and pin down exactly what the prototype will do and who will use it day to day. Think about how it will fit into a real situation, not just on paper. When the purpose is clear, you can move to design. Using CAD software, build a detailed 3D model that shows every curve and feature. Getting the design right here is crucial, because it sets the stage for everything that follows.
Step 2: Pick the Right Silicone
Material choice is make-or-break for any prototype, and silicone is no exception. Silicone comes in several forms, the two big ones being liquid silicone rubber (LSR) and high-consistency rubber (HCR), and each serves a different need. LSR shines in complex parts; its quick cure time and fine detail keep headaches at bay. HCR, on the other hand, works better for bigger molds and projects that demand extra toughness. Know your part's environment-pressure, heat, movement-and that knowledge will steer you toward the best color and hardness.
Step 3: Pick a Prototyping Method
Now that the design looks good and you have your materials in hand, the next move is to settle on a way to build your first working model. Three popular methods spring to mind: 3D printing, injection molding, and hand casting. Each one shines in different areas, so it pays to know the pros and cons. 3D printing is fast, lets you master weird shapes, and costs less for a single copy. Injection molding, on the other hand, keeps every piece nearly identical and shines when you need dozens or hundreds. Your final call should match your budget, the time you have, and how tricky the design is.
Step 4: Test, Tweak, Repeat
Once the first prototype rolls off the line, don t treat it like a sacred artifact-kick the tires and really see what it can do. Testing means checking how well it performs, how long it lasts, and whether every feature works as planned. Even before formal tests, grab a few potential users, watch them interact with the model, and note their reactions. Their feedback usually shines a light on problems you d never spot alone. Make changes, build a new version, and repeat the drill. This loop of testing and tweaking is your protection against late surprises and the key to a product people will love.
Step 5: Final Production and Quality Assurance
When testing wraps up and any tweaks have been made, you move on to the final production stage. At this point, making sure everything works perfectly is key. By running tight quality checks on every batch, you can be confident that each prototype meets the standards you set. Keeping an open line with your manufacturing team lets you spot and fix problems right away, so nothing slips through the cracks.
Industry Trends and Future Directions
Silicone prototyping is changing fast, thanks to new tech and shifting buyer needs. One big shift is the push toward automation; robots and smart software speed up the work and cut delivery times. At the same time, more companies want sustainable options, so people are experimenting with greener silicone blends that still hold up. By tracking these moves, you can keep your edge and make products that today’s shoppers will love.

